For a music producer, this is basically the stuff of nightmares. You nail the perfect take — the synth lead finally cuts through exactly right, the vocal has that raw energy, the drums hit hard — and then, hours later, you realize the input was way too hot. Suddenly the recording is littered with nasty digital clipping. Harsh. Brittle. Completely distracting.
For years, the assumption was brutal but simple: once audio clips, it’s done. Finished. Those flattened, mangled waveforms? You can’t bring back information that’s been smashed away.
Except… that’s not entirely true anymore.
There’s actually a way to recover audio that most people would’ve written off as destroyed. And weirdly enough, the trick isn’t some magical restoration plugin or expensive analog gear. It starts much earlier — with the file format you choose when you export your audio.

The Unforgiving Nature of 24-bit Audio
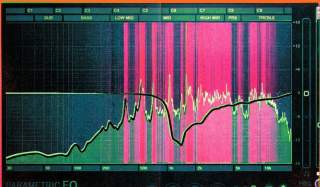
To understand the fix, you first have to understand what’s actually going wrong. With standard audio formats like 16-bit or 24-bit, there’s a hard digital ceiling at 0 dB. The moment your signal tries to push past that limit, anything above it gets brutally chopped off. That’s where that nasty digital clipping comes from — harsh, brittle distortion that instantly makes a recording sound damaged.
As the video demonstrates, once you slam a track into the red and render it as a 24-bit WAV, the damage is basically baked in. You can drag the clipped file back into your session, pull the volume down, even lower it dramatically… and the distortion is still there. Why? Because the missing audio information doesn’t magically come back. It was clipped away during export, permanently.
The Secret Weapon: The Magic of 32-bit Float
This is where 32-bit float audio completely changes the game. Unlike standard 24-bit files, 32-bit float has an absurd amount of headroom — so much that it’s practically impossible to clip in the traditional sense. There’s no harsh digital brick wall waiting at 0 dB ready to destroy your signal.
So even if your levels are slamming deep into the red while recording or exporting, the audio above 0 dB usually isn’t being lost. It’s still there, quietly preserved inside the file instead of being brutally chopped off.
And this is the part that feels almost fake the first time you see it.
When you drag that 32-bit float file back into your DAW, it’ll probably look clipped. It might even sound distorted at first. But the moment you pull the gain or volume down, the original waveform suddenly reappears — clean, intact, and completely free of that nasty digital crunch.
No artifacts. No permanent damage. Just recovered audio.
The headroom in 32-bit float is so ridiculously large that it gives you a safety net most producers don’t realize they have. What would’ve been a ruined recording in 24-bit can often be saved instantly with a simple gain adjustment.
Why This Should Change Your Workflow
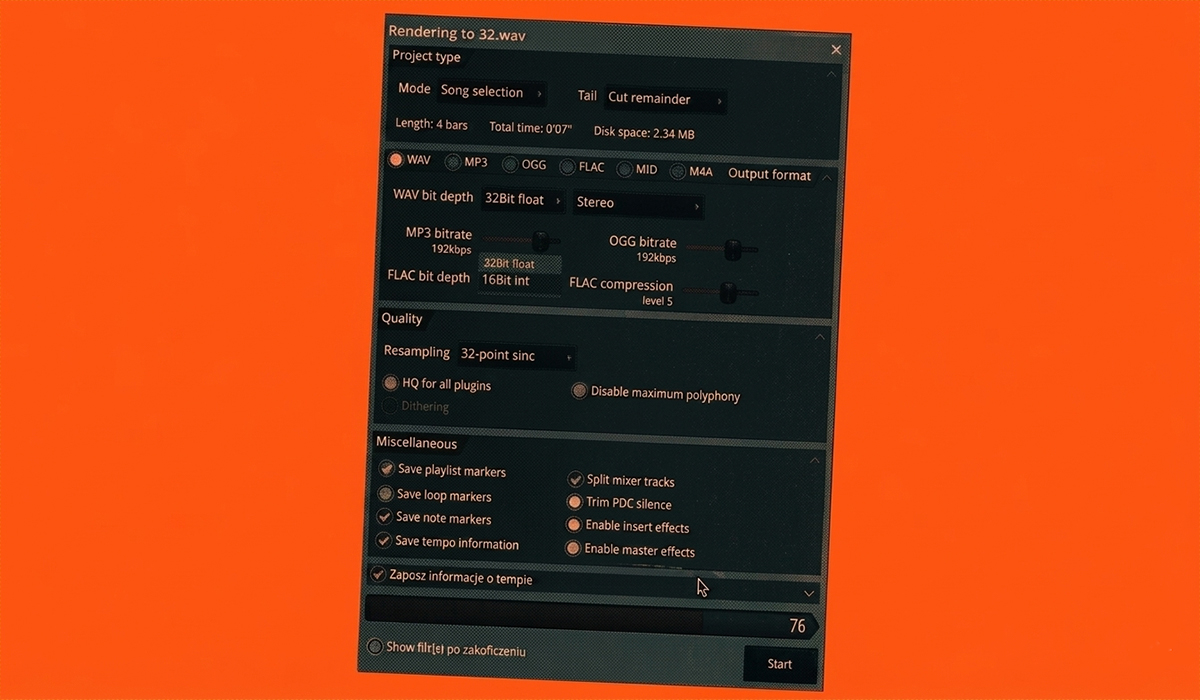
This isn’t just a neat trick; it’s a crucial safety net for every producer. That’s why it’s always smart to render or export your tracks and stems in 32-bit float, just in case.
- During Production: If you’re bouncing a synth or a group of instruments to a single audio file to save CPU, using 32-bit float ensures you can’t accidentally ruin it with clipping.
- For Collaboration: When sending stems to another producer or a mix engineer, providing 32-bit float files gives them the ultimate flexibility to manage gain staging without worrying about pre-existing distortion.
To see a jaw-dropping visual comparison between a clipped 24-bit and 32-bit float file, you have to watch the full video!