Reverb is an essential tool for adding depth, space, and emotion to a vocal performance. However, it’s also one of the easiest effects to get wrong. A common mistake that many producers make is placing the reverb plugin directly on the vocal track. This can lead to a washed-out, muddy mix where the vocal loses its clarity and gets buried in its own ambience.
Never put reverb directly on your vocal track. Instead, follow this professional two-step method to achieve a clean, spacious, and perfectly controlled vocal sound in FL Studio.
Step 1: The Foundation of Pro Vocal Mixing – Using a Reverb Send
The first and most important step is to separate your “dry” (unprocessed) vocal from its “wet” (reverb) effect. This gives you independent control over both elements, which is crucial for a clean mix. This is done by using a “send” or “bus” track.
Here’s how to set it up:
- Create a New Mixer Track: In the FL Studio Mixer, select an empty track and name it “Reverb.” This will be your dedicated reverb bus.
- Move Your Reverb: Instead of having the reverb on your main vocal track, place it on this new “Reverb” track.
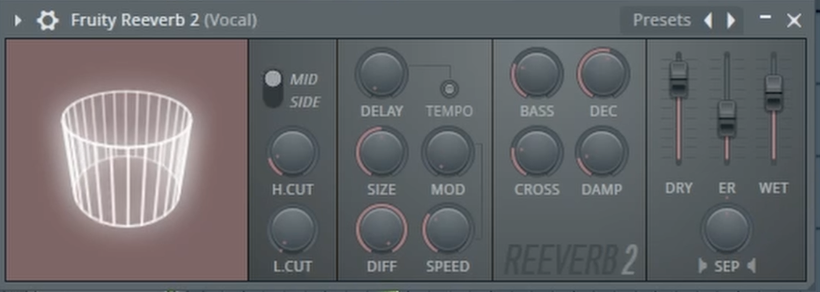
- Set Reverb to 100% Wet: Open your reverb plugin and turn the “Dry” signal all the way down and the “Wet” signal all the way up. This ensures that this channel is outputting only the reverb effect.
- Route Your Vocal: Select your main vocal track, then right-click the arrow at the bottom of your new “Reverb” track and select “Route to this track.”
Now you have full control. Your main vocal fader controls the volume of the dry vocal, and the “Reverb” track fader controls the volume of the reverb. You can blend them together perfectly.
Step 2: The Pro Trick for Ultimate Clarity – Sidechaining the Reverb
We’re not done yet. To take this technique to the next level and achieve ultimate vocal clarity, you can “duck” the reverb out of the way whenever the main vocal is singing. This allows the reverb to swell beautifully in the gaps between phrases without ever clashing with the lyrics.
- Add a Limiter: On your “Reverb” track, add an instance of Fruity Limiter after the reverb plugin.
- Set Up the Sidechain: Route your main vocal track to the reverb track again, but this time select “Sidechain to this track.”
- Configure the Compressor:
- In Fruity Limiter, switch the mode from “LIMIT” to “COMP” (Compressor).
- Right-click the “SIDECHAIN” input box and select “1” (or whichever input your vocal is routed to).
- Now, adjust the Threshold and Ratio. Lower the threshold until you see the compressor reacting every time the vocal plays.
The result is a dynamic, breathing reverb that stays out of the way of the main performance, giving you a way cleaner mix and a much more polished and professional sound.
To see a clear visual demonstration of this entire process, from setting up the send to configuring the sidechain, be sure to watch the full video!