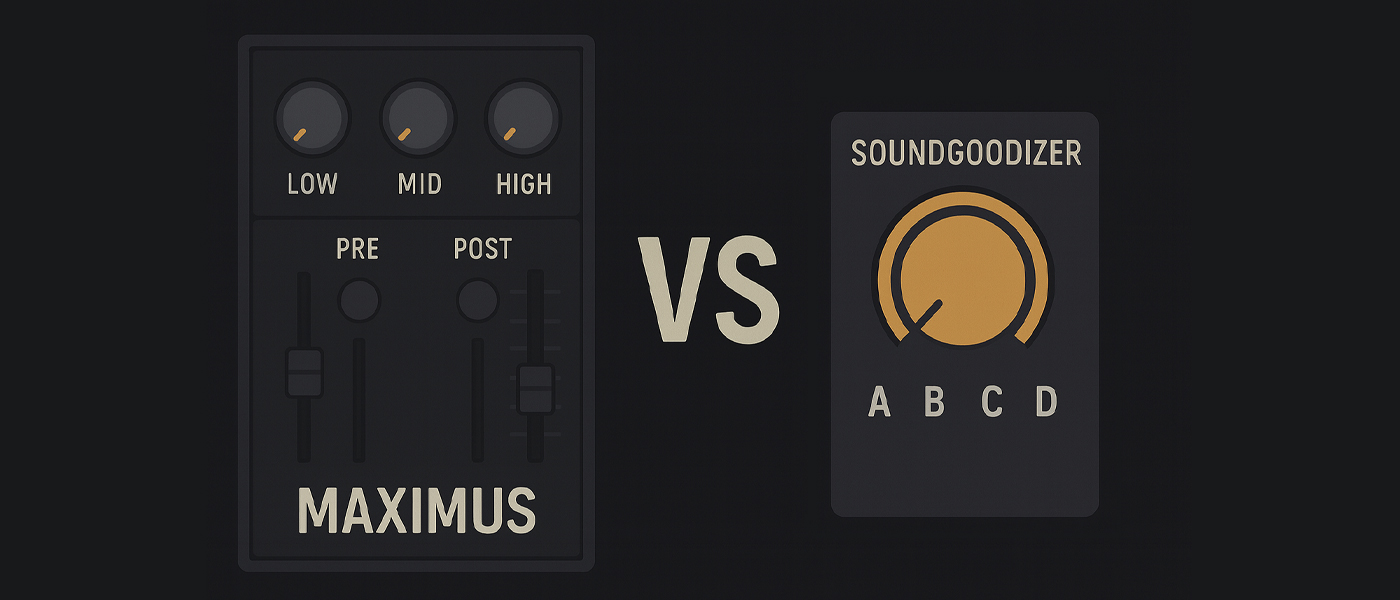
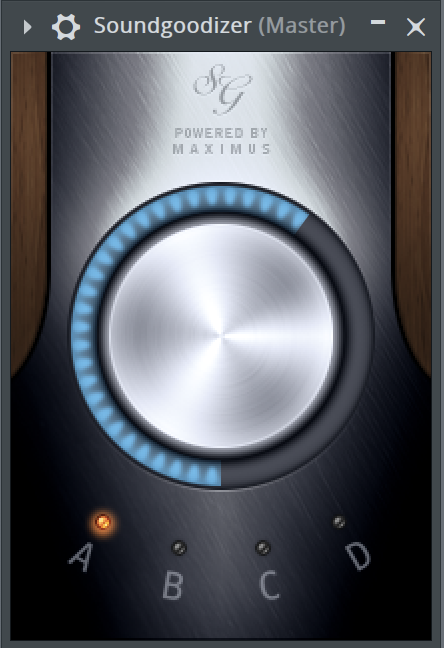
If you’ve ever relied on the one-knob magic of the “Soundgoodizer” plugin, prepare to have your mind blown. This simple, popular tool is often a go-to for adding quick punch and polish, but what if we told you it’s actually a simplified version of a much more powerful plugin you already own?
That’s right. The secret is out: Soundgoodizer is actually Maximus.
The Proof is in the Presets
This might sound like a bold claim, but you can easily verify it for yourself in just a few clicks. Don’t believe it? Try this:
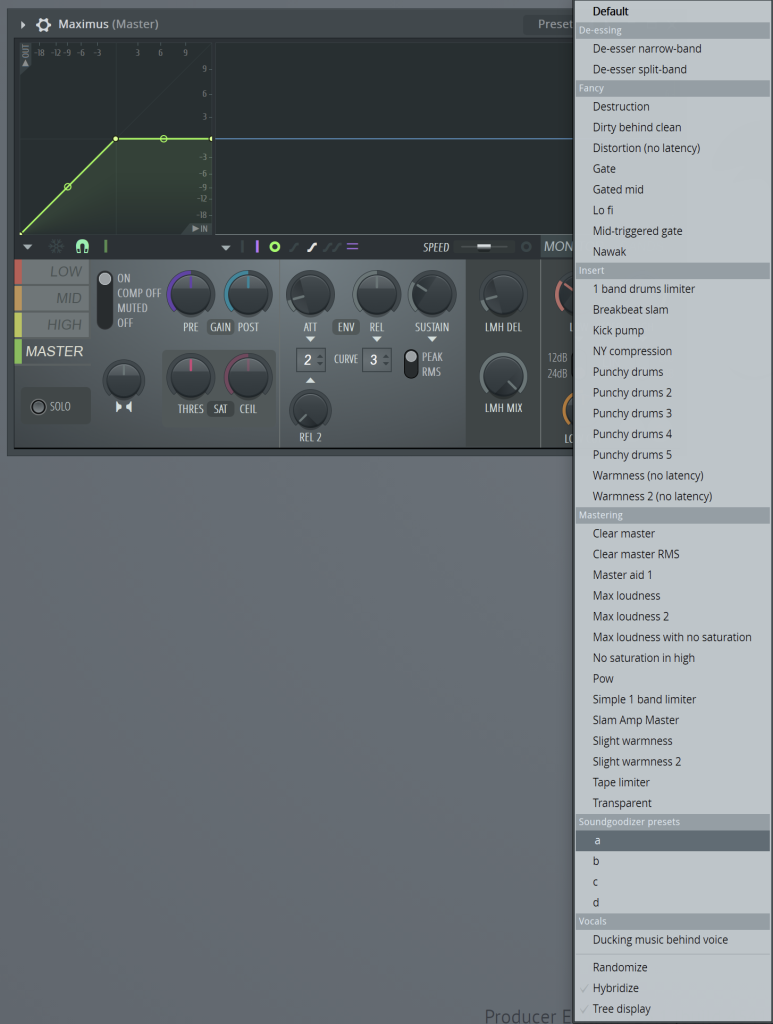
- Open an instance of the Maximus plugin on any mixer track.
- Click on the “Presets” dropdown menu in the top-left corner of the Maximus window.
- Scroll down, and you’ll find a section labeled “Soundgoodizer presets.”
Inside, you’ll see four presets simply named a, b, c, and d. These correspond directly to the four modes available on the Soundgoodizer interface. Essentially, when you’re turning that big knob on Soundgoodizer, you’re just adjusting a macro that controls a specific Maximus preset under the hood.
Why This Unlocks More Power
So, what does this mean for your production workflow? It means you have infinitely more control than you thought. By using Maximus instead of Soundgoodizer, you gain access to all the detailed parameters that shape the sound. You’re no longer limited to a single knob.
With Maximus, you can:
- Tweak the multiband compression: Adjust the low, mid, and high bands individually.
- Fine-tune the saturation and stereo imaging: Get precise control over the warmth and width of your sound.
- Customize the compression curves: Tailor the attack, release, and sustain to perfectly match your audio.
By loading one of the Soundgoodizer presets in Maximus, you can see exactly what’s happening behind the curtain and then freely tweak each parameter to perfectly suit your track
To see a visual walkthrough of this eye-opening FL Studio trick, check out the video below: