Every FL Studio user should be grateful for this powerful feature. If you’ve ever struggled with a vocal mix where the reverb seems to wash everything out and make the lyrics unclear, you’re not alone. A common mistake is letting the reverb tail from one vocal phrase bleed into the start of the next, creating a muddy, unprofessional sound.
While sidechain compression is the usual answer, simply sidechaining your entire vocal track isn’t the most elegant solution. Today, we’re diving into an advanced technique using a powerful native FL Studio tool that allows you to have a massive, lush reverb that only appears when the vocal isn’t singing, giving you the best of both worlds: clarity and space.
The Secret Weapon: Patcher and Reverb Sidechaining
The solution to this common mixing problem lies in separating your dry vocal from its wet reverb effect and then using the dry vocal to control the volume of the reverb. This ensures the reverb gets out of the way when the vocalist is singing but swells beautifully in the gaps. The easiest way to achieve this in FL Studio is with the incredibly versatile Patcher plugin.
A Step-by-Step Guide to Clean Vocal Reverb
- Set Up a Reverb Send: Start by routing your main vocal track to a separate, empty mixer channel. This will be your dedicated reverb send.
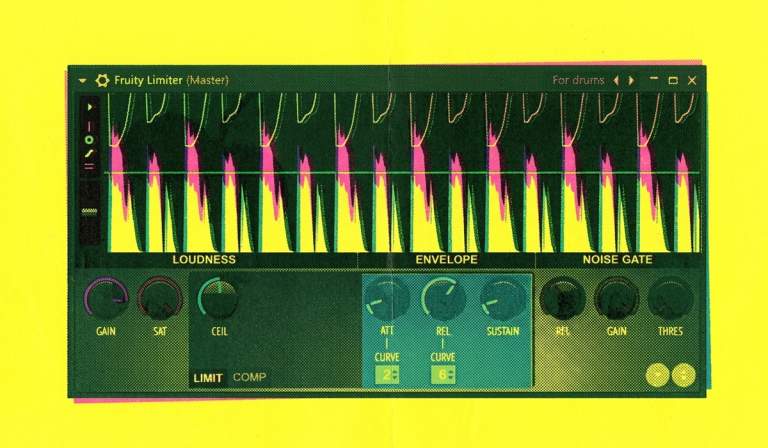
- Add Reverb, Then Patcher: On this new reverb channel, add your favorite reverb plugin first. In the effect slot after the reverb, insert an instance of Patcher.
- Load the Magic Preset: Open Patcher’s preset menu, navigate to the “X Youlean” folder, and load the “Multiband Sidechain” preset. This preset is a complex but powerful tool designed for this exact purpose.
- Connect the Sidechain Trigger: This is the most important step.
- Click on the “Map” tab at the top of the Patcher window to see the internal routing. It will look complex, but don’t worry.
- On the left side of the map, you’ll see an input module labeled “From FL Studio.” From your main (dry) vocal channel, drag a send-routing cable to the reverb channel where Patcher is loaded. This will create a sidechain input into Patcher.
- Back in the Patcher map, you will now see your vocal channel appear as an input. Drag a connection from your vocal channel’s output to the module labeled “Connect Sidechain Here.”
- Dial in the Effect: Switch back to the “Surface” tab in Patcher. Now, when you play your vocal, you can use the large “Sidechain” knob to control how much the reverb is “ducked” or lowered in volume whenever the dry vocal is present.
The result is a dynamic and professional vocal sound. The main vocal remains clear and upfront, while the reverb breathes and swells in the spaces between words, adding depth and atmosphere without creating any mud.
To see this advanced technique demonstrated from start to finish and understand the complex Patcher routing, you have to watch the full video!