Want your vocals to sound clear, powerful, and ready for Spotify? In this guide, you’ll discover how to record professional-quality vocals at home – from mic setup and room treatment to mixing tricks that make your voice stand out.
Table Of Contents:
- Why “Spotify-ready” matters
- Mic & Room: get the source right
- Gain staging & noise control
- Performance first: what actually changes the take
- Fast session workflow (that scales to pro results)
- A reliable “radio-ready” vocal chain (home-studio edition)
- Pitch tools & “live” tracking
- Editing that doesn’t kill the emotion
- Translation to the mix & streaming
- FAQ
Why “Spotify-ready” matters
On streaming platforms, vocals need to be consistent, clear, and emotionally present. That starts at the source (performance + recording) and only then moves to editing and mixing. This guide walks you end-to-end: mic, room, gain staging, performance, comping, cleanup, and a fast vocal-mix recipe suited to home studios.
Tip: if you need polished vocal samples to layer or study, you’ll find a curated collection here: Slooply – Vocal Samples.
Mic & Room: get the source right
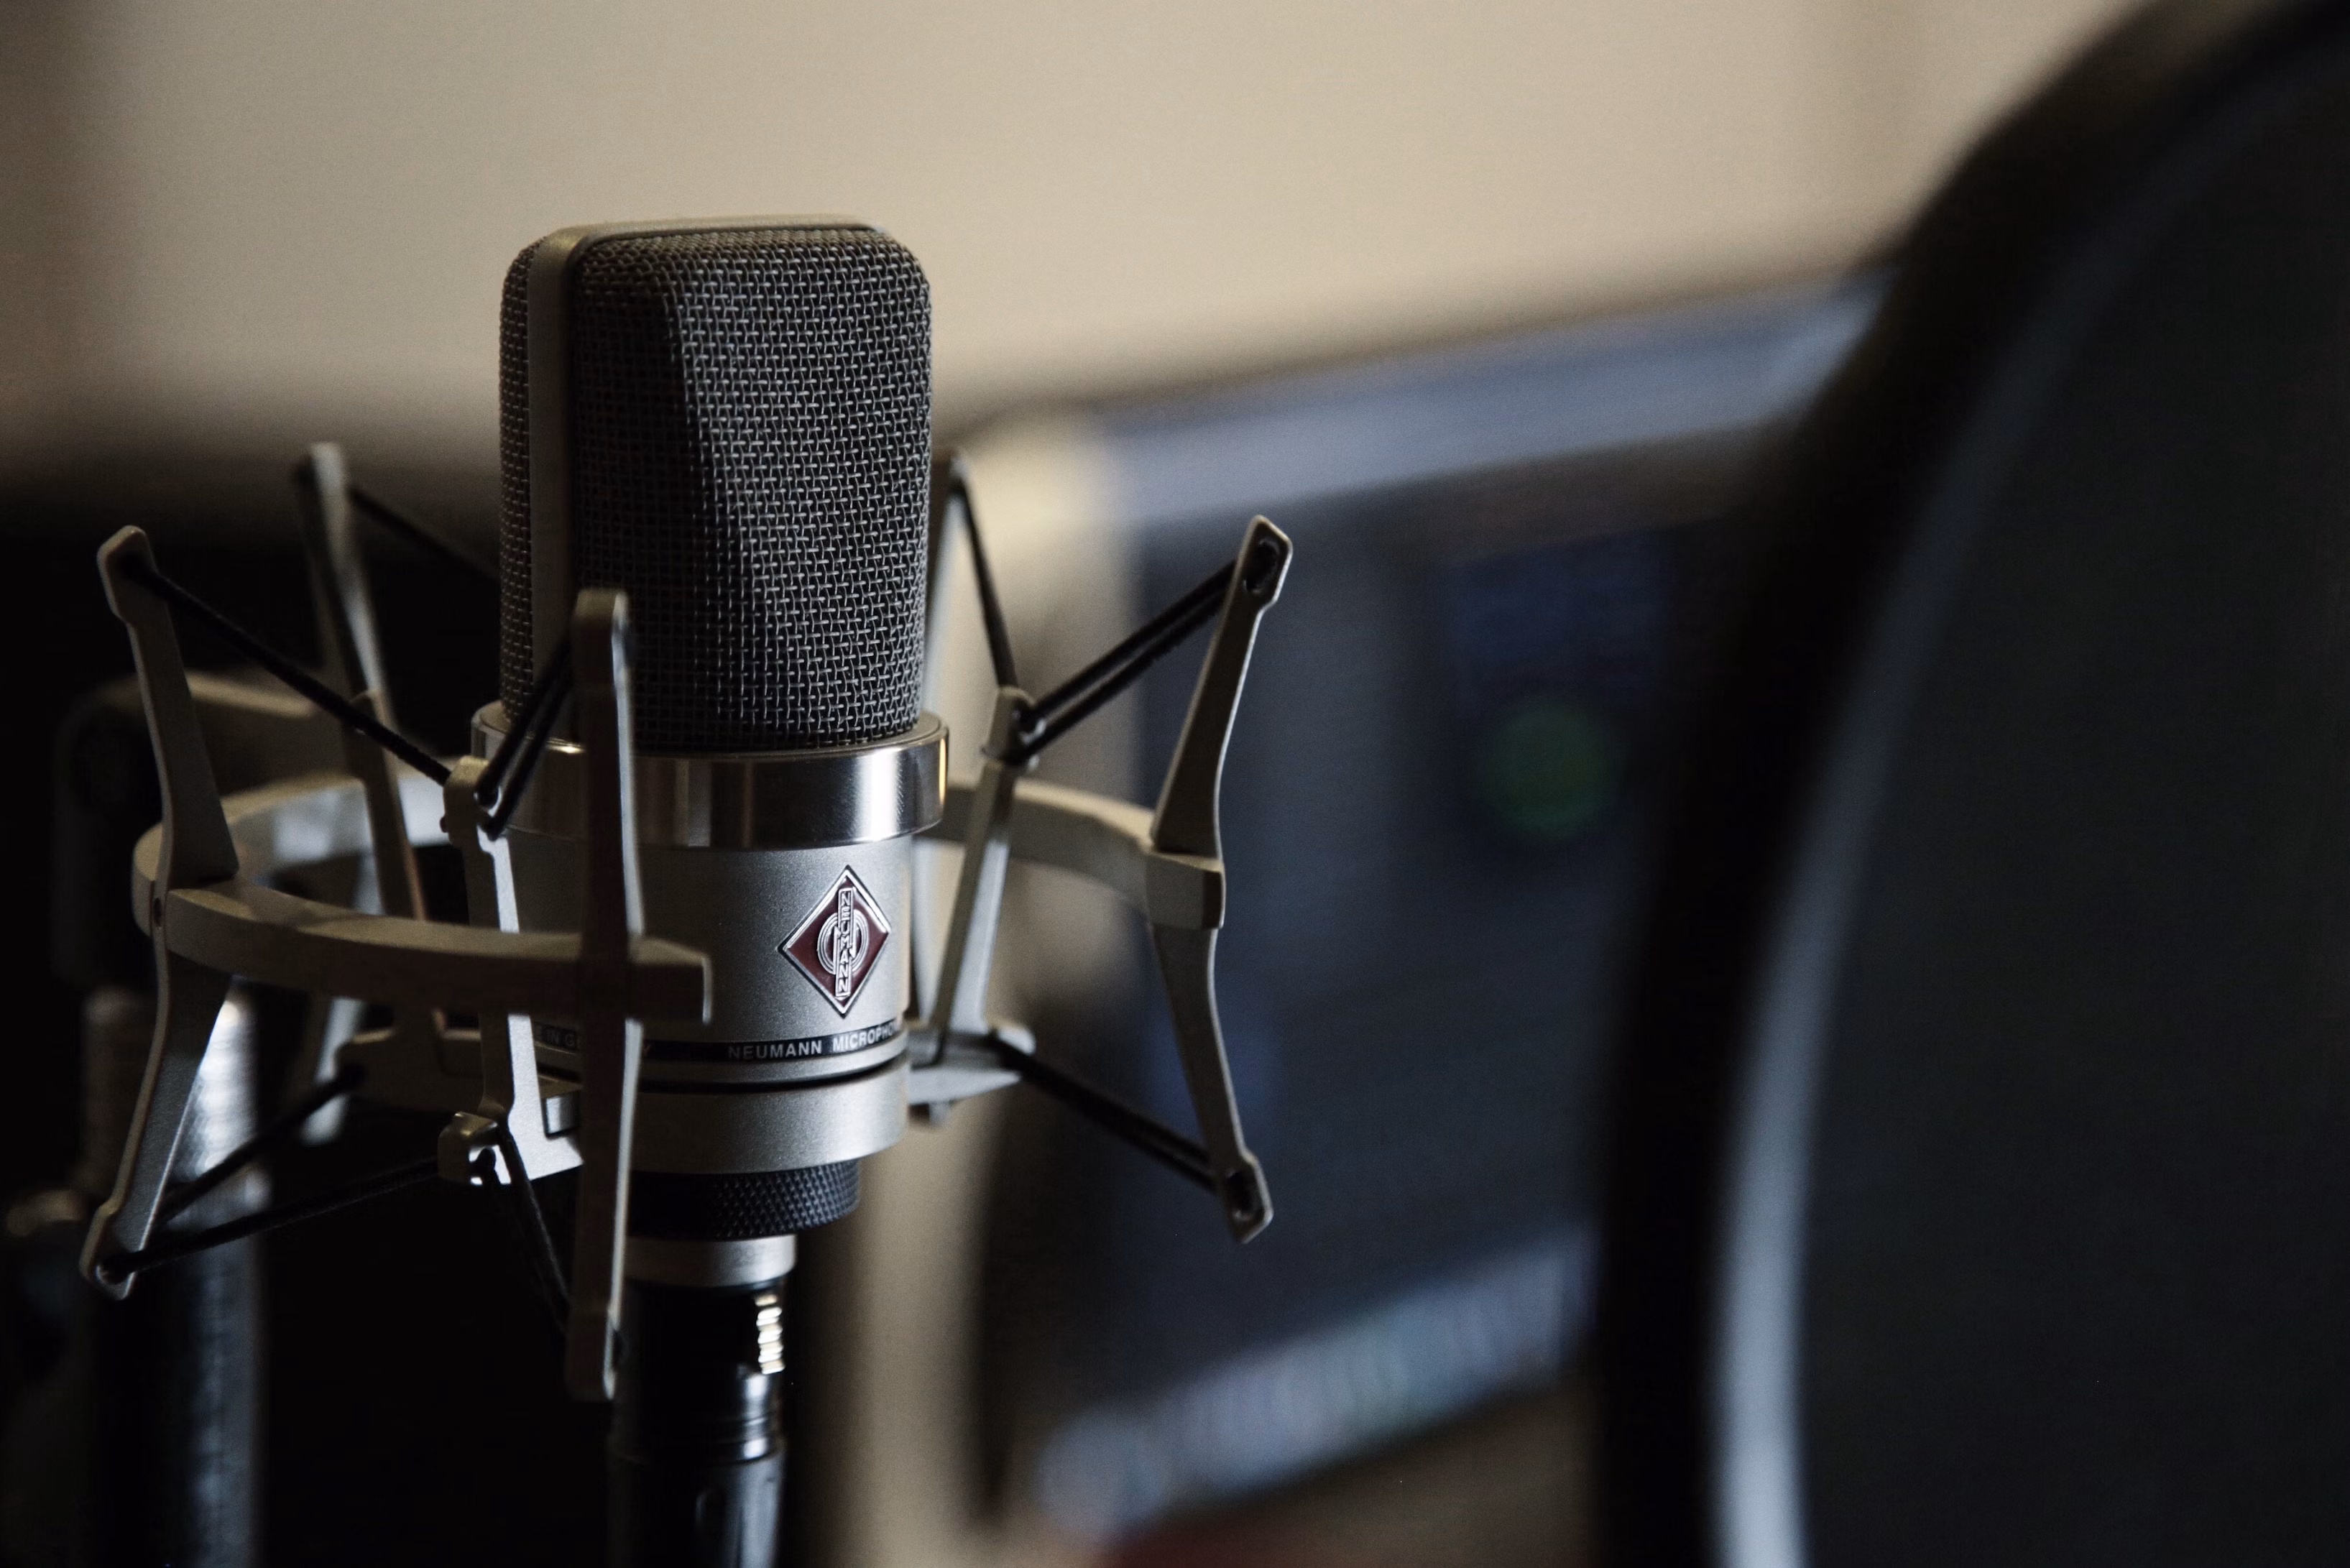
Pick a mic that fits your voice (not the price tag)
- Dynamic workhorse (budget-friendly): broadcast-style dynamics (e.g., SM7-type) are forgiving on room reflections and sibilance, great for untreated rooms.
- Studio condensers: capture more air and detail but demand a quieter, treated space.
- High-end tube/heritage mics: beautiful tone, but only shine in controlled rooms.
If you fall for a boutique mic later, save an EQ preset that makes your everyday mic mimic that tone: record the same phrase on both mics once, then EQ/comp/de-ess the “cheap” chain until it matches. Save as your “expensive-mic” preset for future sessions.
Distance & placement
Start ~6-8 inches (15–20 cm) from the capsule, with a pop filter placed halfway. Angle the mic slightly off-axis to tame harsh consonants. Refine by ear for proximity/air. Sound On Sound
Tame the room (fast hacks)
- Record where there’s soft stuff: curtains, couch, rug, wardrobe full of clothes.
- DIY shield: pillows/duvet behind and around the mic to block reflections.
- Face the least reflective part of the room. Basic treatment beats fancy gear.
Gain staging & noise control
Set input so it never clips
Sing your loudest line, set preamp so peaks land around -12 to -6 dBFS in your DAW. If it flashes red, it’s too hot.
Use a gentle noise gate for dead air
A gate that only opens when you sing removes laptop fans and room rustle between phrases. Keep thresholds conservative so it never chops word tails; you’ll still do manual cleanup later.
Performance first: what actually changes the take
- Stand up, keep posture open; distance stays consistent as you emote.
- Warm up before arriving to the mic; if you’re hiring a singer, ask them to show up warmed up.
- Avoid carbonation, spicy/acidic foods near the session; they trigger clicks/heartburn and wreck consistency.
- Send the song a day early to a vocalist. Most singers deliver better once the melody and phrasing are internalized.
Fast session workflow (that scales to pro results)
1) Record passes with intent
Record multiple full takes plus targeted punch-ins for tricky lines. Track a few doubles/harmonies for the chorus while the voice is fresh.
2) Comping: choose the best of each phrase
Assemble a master take by selecting the most convincing phrase from each pass. Think four stages: record → select → cleanup → final check. Label your lanes clearly to stay fast. Splice
3) Cleanup: silence gaps, fix breaths, align doubles
- Strip silence or manually mute gaps.
- Tame mouth clicks and loud breaths; keep natural ones.
- Tighten doubles with small edits, not heavy time-stretch.
A reliable “radio-ready” vocal chain (home-studio edition)
Goal: speed + vibe. Replace any plugin names below with equivalents you own—the moves are what matter.
- Subtractive EQ (HPF + mud cut)
- High-pass around 70–100 Hz (voice-dependent).
- Sweep 150–400 Hz to remove boom/mud.
- Gentle compression (3–6 dB GR)
- Medium attack, medium-fast release for steady level without squashing life.
- De-esser
- Target the sibilant band (often 5–8 kHz). Use ears, not presets.
- Tone/EQ sweetening
- Add presence (2–5 kHz) carefully; sprinkle air (10–16 kHz) if the mic/room allows.
- Ambience
- Short slap delay (¼ note or ~100–140 ms) subtly under the lead.
- Plate/room reverb very low—just enough to glue. Automate sends word-by-word for special moments.
- Stereo interest (optional)
- Micro-widening on doubles/ad-libs, keep lead mono-center for focus.
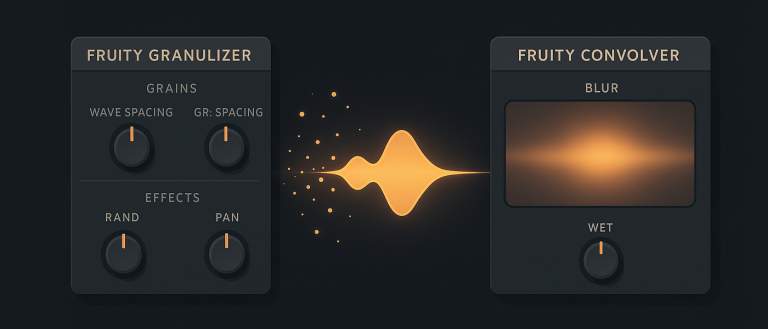
Many producers lean on an “all-in-one” vocal strip to move quickly, then fine-tune with separate EQ/comp/de-ess. Start with a tasteful preset, adjust brightness/low-end to the singer, then automate delay throws on key words for impact.
Pitch tools & “live” tracking
- If you track with live pitch correction, keep retune speed moderate and add humanize so the timing and vibrato feel real.
- For modern pop/rap effects, faster settings are fine—just commit on purpose.
- If in doubt, track clean and tune later so performance choices stay flexible.
Editing that doesn’t kill the emotion
- Keep micro-variations that sell the story; remove only genuine distractions.
- Clip gain fixes bad syllables more transparently than brick-wall compression.
- Final pass: ride the lead vocal fader with automation so the words feel close and effortless across verses and hooks.
Translation to the mix & streaming
- Build your mix around the vocal: get the lead right, then fit drums, bass, and keys under it.
- Check on two devices + earbuds; if lyrics vanish, pull back conflicting mids on guitars/synths.
- Leave conservative headroom on the mix bus; let the mastering stage hit the final loudness.
FAQ
What if my room is untreated?
Prefer a dynamic mic, record in a “soft” corner (closet of clothes), and place absorption (pillows/duvet) behind the mic. Lewitt
How loud should I record?
Aim for healthy but safe input—peaks roughly -12 to -6 dBFS—and never clip. A clean take beats a hot, distorted one.
Do I need expensive plugins?
No. Stock EQ/comp/de-esser plus a good slap delay and a short plate reverb can deliver “radio-ready.” All-in-one vocal strips are just speed tools.
What’s the fastest upgrade path?
- Pop filter → 2) Room softening → 3) Consistent gain staging → 4) Comping discipline → 5) Vocal rides. Mic upgrades come after your workflow is tight.